
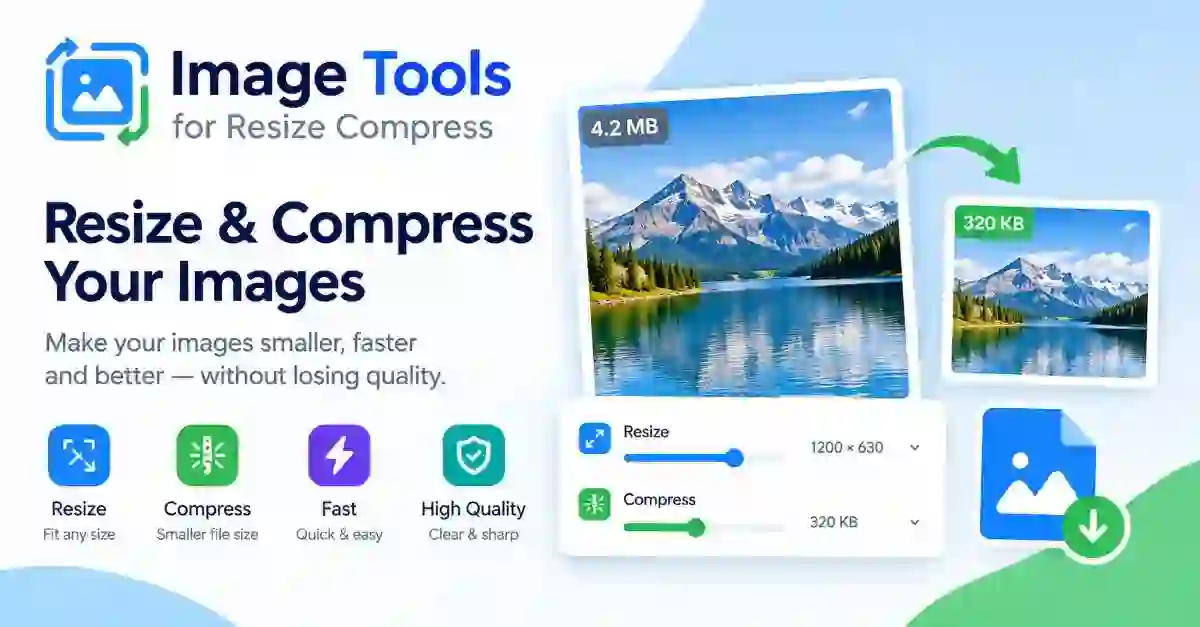
A photo straight from a phone is often too big for a website, an email or a form. It may be too wide, too heavy or in the wrong format.
These tools fix each problem in your browser, so the picture is ready to use in a minute. Your file is processed on your own device and never uploaded.
Pick the job you need from the table. Some of these tools combine well, and the order matters.
| Task | Use It When |
|---|---|
| Resize Image | You need exact dimensions for a profile, banner, product or form |
| Image Compressor | The file is too heavy to upload, email or load quickly |
| Crop Image | You want to remove edges or focus on one part of the picture |
| Background Remover | You want the subject alone, without the background behind it |
| PNG to JPG | You want a smaller file from a PNG photo or screenshot |
| JPG to PNG | A site or editor asks for PNG, or you plan to add transparency later |
Resizing changes the pixel dimensions of a picture, for example from 4000 by 3000 to 1200 by 900. Smaller dimensions mean a smaller file and a faster page.
Keep the aspect ratio locked so the picture does not stretch. Make images smaller rather than larger, because enlarging a small picture adds blur and never adds real detail.
Compression reduces file size, and the best setting is the lowest one that still looks sharp. For photos, a small quality drop is usually invisible and saves a large amount of space.
Compress once from the original file. Saving a lossy image again and again adds damage each time, so keep your untouched original safe. The compressor accepts JPG, PNG, WebP and AVIF, up to 25 MB per file, and you can compress several images at once.
Cropping removes unwanted edges and helps you frame the subject. It also lowers the file size a little, since there are fewer pixels to store.
The background remover cuts the subject out of its background, which suits product photos, profile pictures and stickers. It works best when the subject stands out clearly from what is behind it. A busy background with similar colours to the subject will leave rough edges, so check the result closely and crop tighter if needed.
The format affects size, quality and features such as transparency. Convert only when you have a reason.
Best for photographs, where small files matter more than perfect detail. JPG cannot store transparency, so a see-through area is filled with a solid colour, usually white.
Best for logos, screenshots and graphics that need sharp edges or transparency. PNG files are larger than JPG for photos, so do not use PNG for every picture.
Best for websites, since it supports both lossy and lossless images at small sizes. If a site accepts WebP, it is usually the smallest choice for the same quality.
Working in this order avoids wasted effort, because every step starts with a smaller, cleaner file.
First, crop the picture to the part you want. Then resize it to the final dimensions. Then compress it to cut the file size. Convert the format last, if the destination requires it. Removing the background, when you need it, comes before resizing, so you are not shrinking pixels you will throw away.
Stretching a picture by changing width and height separately distorts faces and logos. Enlarging a small image makes it soft, so start from the largest source you have. Over-compressing creates blocky patches and ragged edges. Saving over the original means you cannot undo it later, so always keep the original file.
Websites and blogs get faster pages and sharper thumbnails. Social media pictures fit each platform's size. Online stores get consistent product photos that load quickly. Documents and forms get files that meet an upload size limit. Email gets attachments small enough to send.
Shops need photos of equal size, so a product grid looks tidy. Resize and crop each picture to the same dimensions, then compress each one. Social profiles are similar: each platform shows pictures in its own frame, so crop the important part to the centre and leave some space around it.
Work on a copy and keep the original untouched. Check the size limit or dimensions required before you start, so you do not resize twice. Zoom in on the result to look for blur or blocky areas. Rename files with clear words instead of camera numbers.
Yes. There is no account and no payment. Open a tool, add your picture and download the result.
No. They run in your browser, so your picture stays on your device.
At a sensible setting, no. A small quality drop is invisible on a photo and saves a lot of space. The damage shows when the quality is set very low, so stop at the lowest setting that still looks sharp when you zoom in.
The aspect ratio was unlocked. When you change width and height separately, the picture distorts. Keep the ratio locked, or crop first to the shape you want and then resize.
No. JPG has no transparency. If you need a see-through background, convert to PNG and remove the background first, then save as PNG.
It works best when the subject is clear against its background. A busy background, hair, or colours close to the subject can leave rough edges, so check the result and crop tighter if needed.
Good image work is mostly order and restraint: crop first, resize to the size you need, compress once, and convert only when the destination asks for it. Do that, keep the original safe, and the picture is ready for the web, the shop or the inbox.