
Background Remover: Remove Background from Image
Pick a mode, upload your photo, and get a transparent PNG in seconds
Uses an AI model that recognizes human shapes, for ordinary photos of people with normal backgrounds.
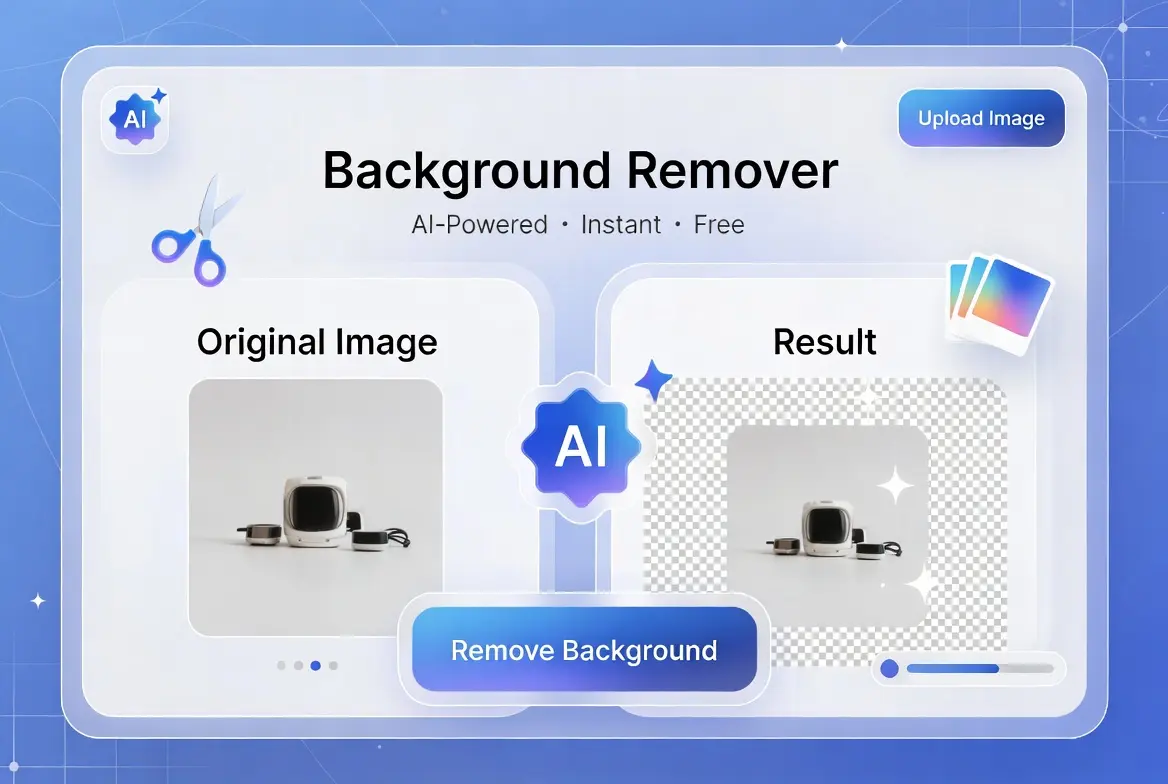
Two Modes, Because One Method Doesn’t Fit Every Photo
Most background removers on the web quietly do one of two things: they either run a proper AI model that recognizes a person, or they do a simpler color-matching trick that only works when the background is fairly plain. Very few tools tell you which one you’re actually getting. This Background Remover gives you both, as separate modes, so you can pick the one that fits your photo instead of hoping a single hidden algorithm handles everything.
Photo of a Person mode runs an AI model in your browser that has been trained to recognize human shapes. It works on ordinary photos, indoors or outdoors, with a normal background behind the person.
Plain / Solid Background mode does not use AI at all. It reads the color in the four corners of your photo, then spreads inward from every edge, marking anything that matches as background. It works well for product shots, logos, or ID-style photos on a flat color, but it cannot tell a person or an object apart from a busy, photographic background.
How Photo of a Person Mode Works
This mode of the Background Remover uses a model called Selfie Segmentation, an open-source computer vision model built by Google that runs entirely inside your browser using WebAssembly. The first time you use it, your browser downloads the model file from a content delivery network, which is why the very first run takes a few extra seconds. After that, the model stays cached and later runs are quicker.
Once the Background Remover model loads, it looks at your photo and produces a probability map: for every pixel, how likely is this part of a person rather than the background. That map becomes the transparency (alpha) channel of the final image, so the person stays fully visible while everything the model identifies as background fades out. A short blur pass is then applied to that map so the cutout edge looks soft rather than jagged.
Because the model was trained specifically on human shapes, it does not recognize products, animals, buildings, or other objects. Point it at a photo of a person and it generally does a solid job; point it at a chair or a building and it will not know what to isolate.
How Plain / Solid Background Mode Works
This Background Remover mode is closer to the “magic wand” tool found in image editors, just applied automatically. It samples the color at each of the four corners of your photo, assuming that whatever color sits in the corners is the background. Starting from every pixel along the outer edge of the image, it checks each neighboring pixel: if the color is close enough to that sampled background color, it’s marked as background and the check continues outward from there, but if the color differs enough, it stops spreading in that direction.
The Background Remover’s result is a mask that, ideally, only covers the actual background, since the spreading process starts at the edges and stops the moment it hits a color that doesn’t match, rather than searching the whole image for that color everywhere. A light blur is then applied to the mask’s edge for the same reason as in Person mode: a soft edge looks far more natural than a hard cutoff line.
This approach has a real limitation worth being upfront about: it only understands color, not shape or meaning. A plain white studio backdrop works well. A cluttered room, a patterned surface, or a background that shares a similar color with the subject will confuse it, sometimes cutting into the subject or leaving background patches untouched.
Which Background Remover Mode Should You Use?
- A photo of a person, indoors, outdoors, any background: use Photo of a Person mode.
- A product, logo, or document photographed on a plain, single-color background: use Plain / Solid Background mode.
- A product or object photographed against a busy, photographic background: neither mode will give a clean result. This Background Remover does not currently include a general-purpose object model, so the most reliable fix is to reshoot or crop the photo against a plainer background first.
Step-by-Step: Using This Background Remover
- Choose a modePick Photo of a Person or Plain / Solid Background at the top of the tool, based on what’s actually in your photo.
- Upload your imageClick the upload area or drag your file in. JPG, PNG, and WEBP are supported, up to 10MB.
- Click Remove BackgroundPerson mode may take a few extra seconds the first time, while the AI model loads.
- Check the resultCompare the original and the transparent version side by side before downloading.
- Download the PNGThe file keeps its transparency and works in any editor, slideshow, or website that supports PNG.
Background Remover Modes Compared
| Factor | Photo of a Person | Plain / Solid Background |
|---|---|---|
| Technology | AI model (Selfie Segmentation) | Color matching from the edges |
| Best for | People, any background | Products or logos on a flat color |
| Struggles with | Non-human subjects | Busy or multi-colored backgrounds |
| First-run speed | Slower (model download) | Instant |
| Repeat-use speed | Fast (model is cached) | Instant |
Where This Background Remover Actually Helps
Team and Headshot Photos
Photo of a Person mode is a natural fit for staff photos, headshots, and profile pictures where you want to drop the same person onto a different color, slide, or webpage without reshooting.
Product Listings on a Plain Backdrop
If you already photograph products on white, gray, or another single-color surface, Plain mode gives you a clean cutout for marketplaces, catalogs, or your own storefront without needing separate editing software.
Simple Design Assets
Logos, icons, and flat graphics on a solid background are exactly the case Plain mode was built for, since the “background” is genuinely one uniform color to begin with.
Presentations and School Projects
Cutting a person out of a snapshot to place them into a slide or poster is a common, low-stakes use for Photo of a Person mode, with no software installation required.
Social Posts and Thumbnails
A transparent cutout of a person or a small graphic is easier to layer over a colored background, a text overlay, or a branded template than a photo with its original background still attached. This comes up often for YouTube thumbnails, Instagram story stickers, and email banners, where the same cutout needs to sit on top of several different backgrounds without being re-edited each time.
For Person mode, a photo where the subject isn’t touching the frame’s edge tends to cut more cleanly. For Plain mode, the more evenly lit and uniform the backdrop is, the better the result, since the tool is only as good as how consistent that background color actually is.
Processing One Photo at a Time
This Background Remover handles a single image per run rather than a batch. Upload a photo, process it, download the result, then use “Upload New Image” to start the next one. For a handful of photos this is quick enough not to matter, but if you’re clearing backgrounds from a large set of product shots or headshots in one sitting, plan on repeating the steps for each file rather than expecting a folder-wide option here.
Common Background Remover Mistakes to Avoid
- Using Plain mode on a photographic background: if the background isn’t a genuinely flat color, this mode will produce a messy edge or miss large areas entirely.
- Using Person mode on non-human subjects: the model was trained on human shapes specifically, so it won’t recognize a product, animal, or building as a “subject” worth keeping.
- Skipping the preview: always look at the transparent result before downloading, particularly around hair, fingers, or thin edges, which are the hardest parts for either method to get exactly right.
- Uploading a heavily compressed photo: a low-quality source image gives both methods less to work with, and the edge quality of the result suffers accordingly.
About the Downloaded File
The download from this Background Remover is always a PNG, never a JPG, because JPG has no way to store transparency; PNG is the format that actually supports a see-through background, so it’s the only sensible output for a cutout.
To keep processing quick on ordinary devices, both modes work from a resized copy of your photo capped at 1200 pixels on its longest side, and the downloaded file reflects that same size rather than your original resolution. For a profile picture, a slide, or a product thumbnail this is normally more than enough detail, but if you need the cutout at full print resolution, this tool isn’t the right fit for that specific case.
Because PNG stores every pixel losslessly and adds an alpha channel for transparency, a cutout PNG is often a noticeably larger file than a JPG of the same photo. If the download needs to be smaller for email or a page that’s sensitive to load time, running it through the Image Compressor afterward will shrink the file while keeping the transparency intact.
Performance on Larger Photos
Both modes run using your device’s own processing power rather than a server, so speed depends on what you’re using to open this page. A phone or an older laptop will take noticeably longer on a large photo than a recent desktop, particularly the first time Person mode runs and has to finish downloading its AI model before it can start.
Very high-resolution photos, the kind straight off a modern phone camera or a DSLR, take a moment longer to read into the browser before processing even starts, simply because there’s more image data to load. If a photo feels slow to process, closing other heavy browser tabs frees up memory the tool can use, and re-running Plain mode on the same image is close to instant once the file is already loaded, since it doesn’t depend on any outside model. Person mode stays quick on repeat use too, once its model has already been cached by your browser from an earlier visit to this page.
Background Remover Privacy: How Processing Actually Happens
This Background Remover never uploads your photo anywhere. Plain mode runs entirely with plain JavaScript in your browser and needs no outside data at all. Person mode is almost the same, with one honest caveat: the AI model file itself, not your photo, is fetched once from a content delivery network the first time you use that mode, and is then cached by your browser for next time. Your uploaded image never leaves your device during that process.
Frequently Asked Questions
Conclusion
Any background remover is only as good as its match to the photo in front of you. Rather than hiding behind one algorithm and hoping it copes with everything, this Background Remover gives you two honest options: a real AI model for photos of people, and a straightforward color-matching method for plain backgrounds. Pick the one that fits, and you’ll get a cleaner result than a single one-size-fits-all approach could manage.